Overview
Learn how to add a requested/required document to a License Application. -Create a Document Type -Assign the Document Request to a License Application Type.
Alert: Please use your Sandbox environment first.
If you are happy with the changes, then apply the settings update to your Production site.
Context
1. During a License Application, an applicant can be asked to upload specific documentation.
Example:
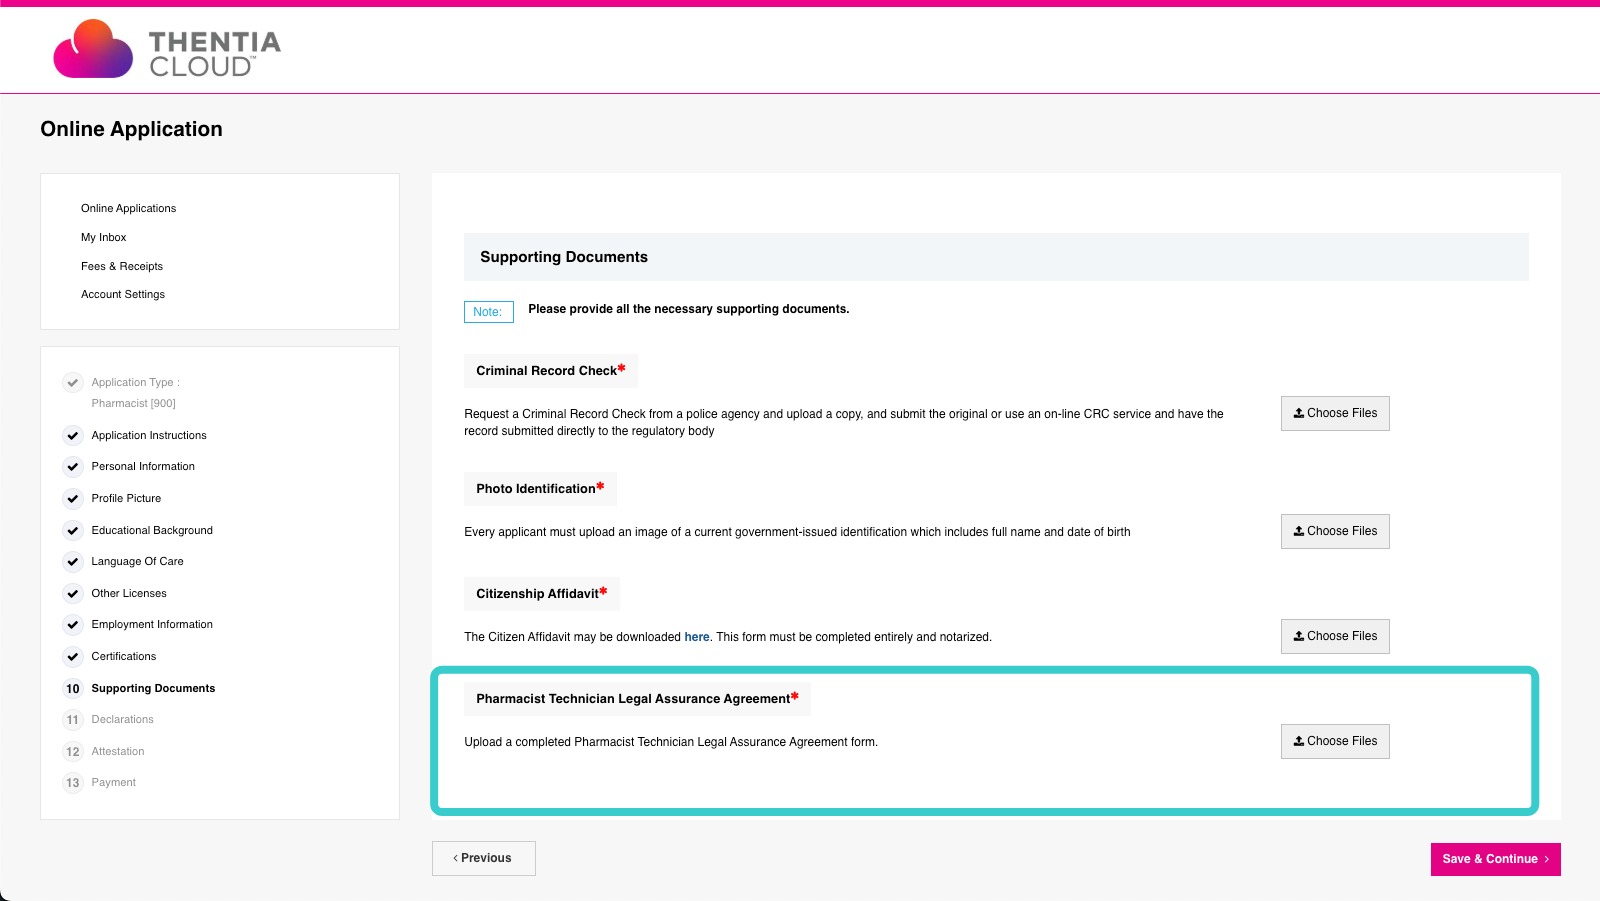
In the screenshot below, there are currently three documents requested for a Pharmacist License application. One additional document needs to be added to this step.
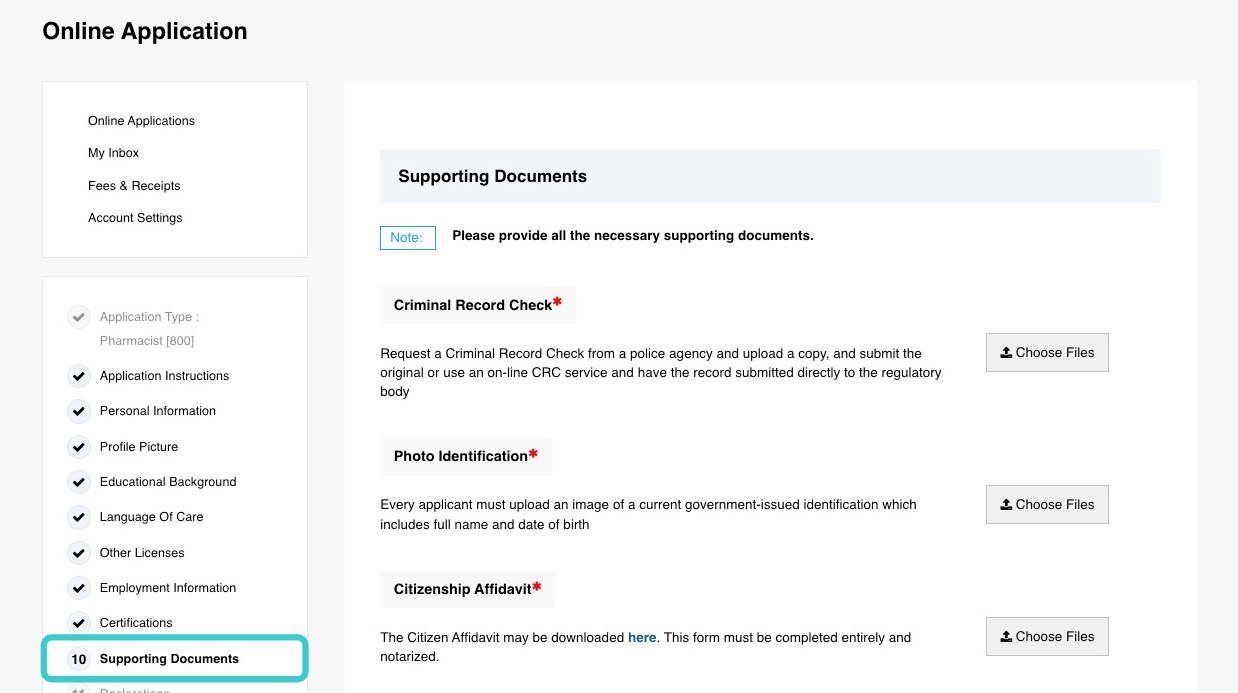
Creating a Document Type
2. Access the Workflow Module through the Module Selector.
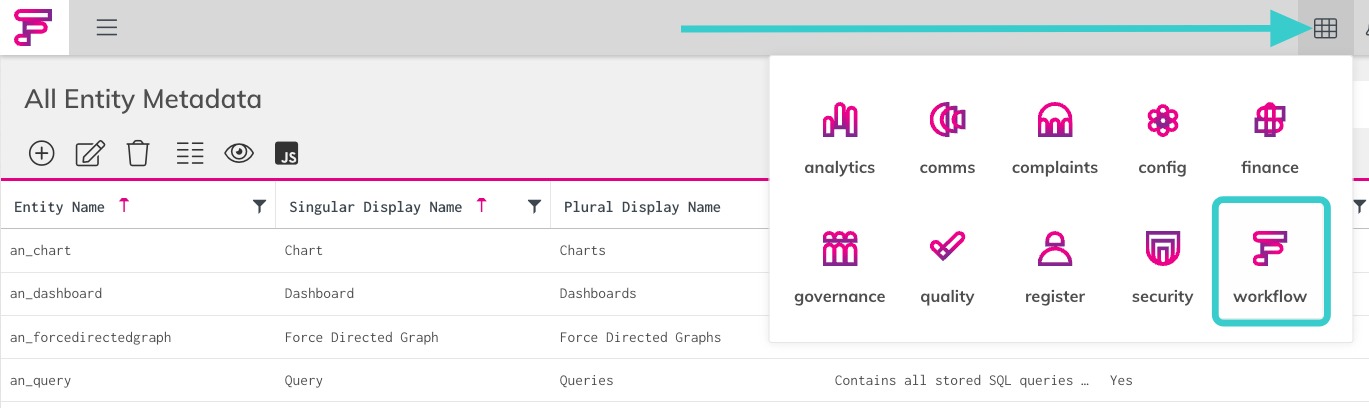
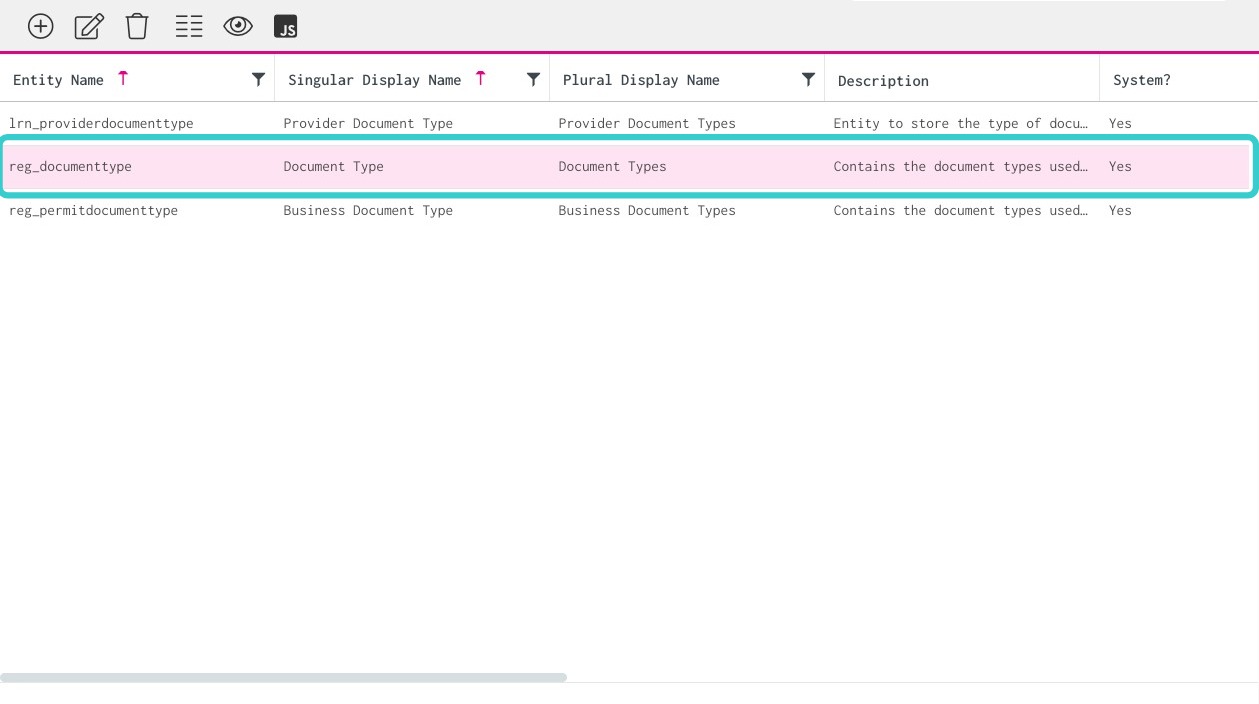
3. Access the Document Type entity.
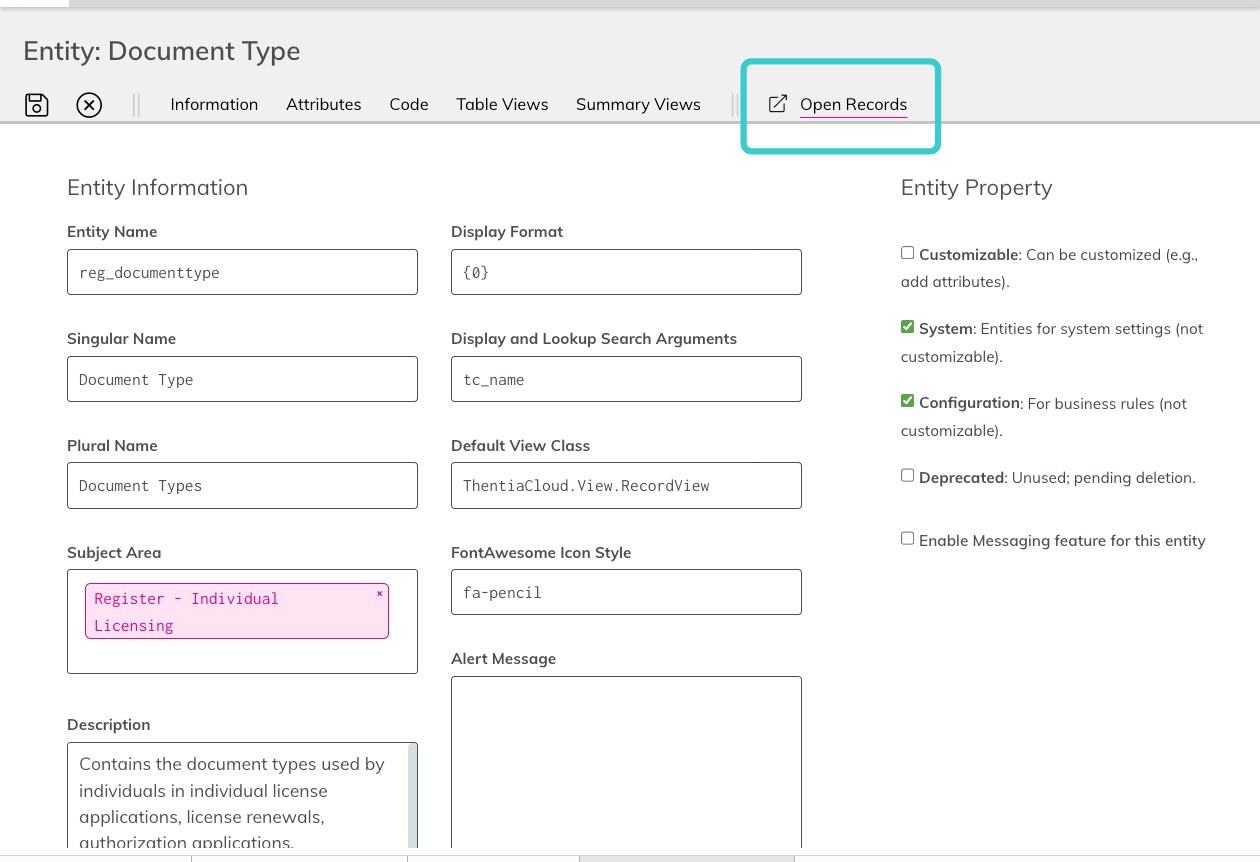
4. Click Open Records.
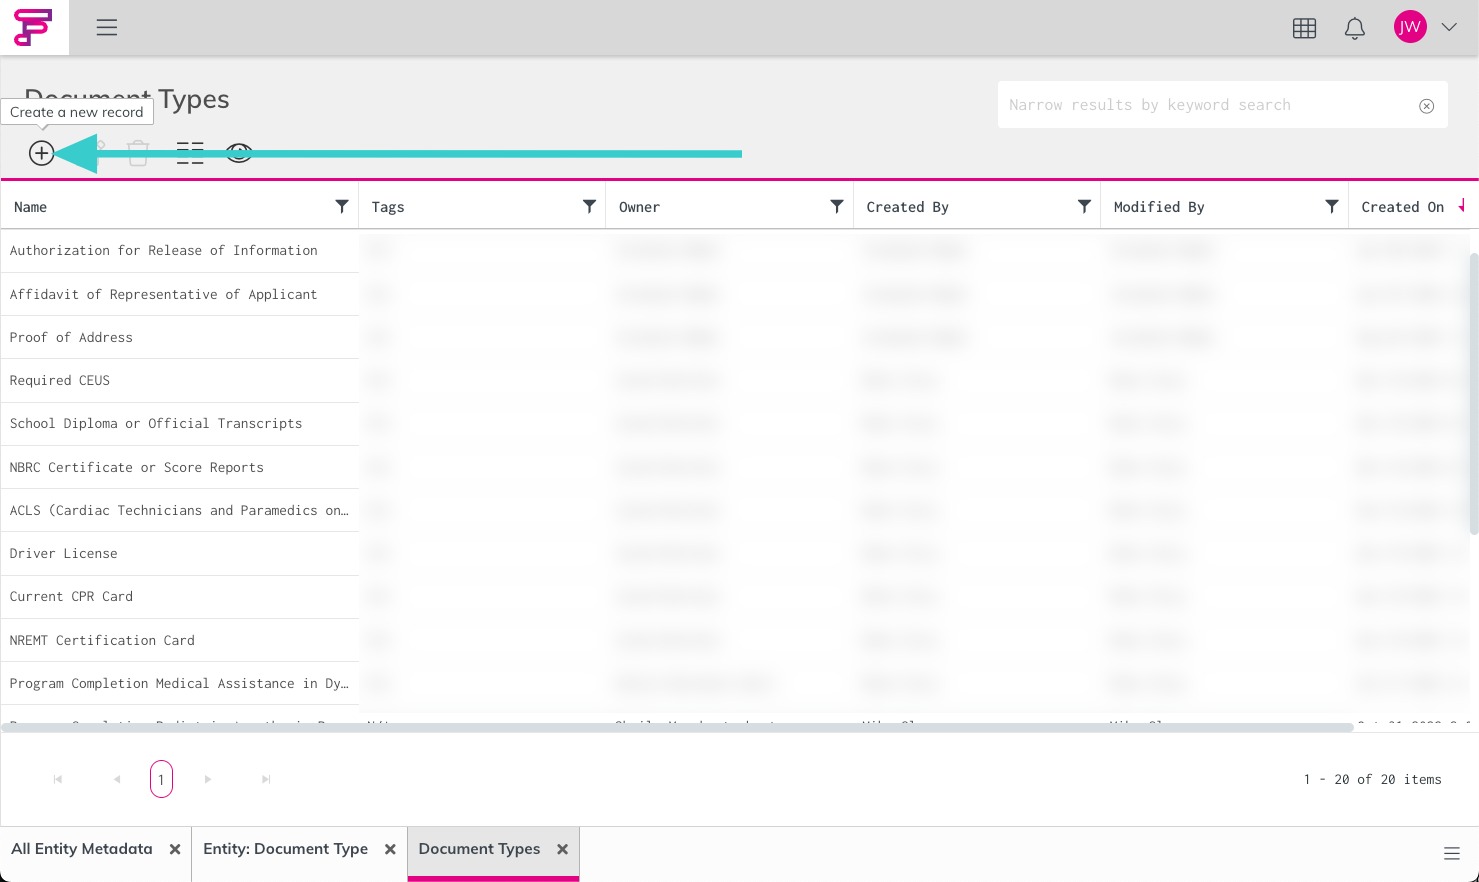
5. Create a new record.
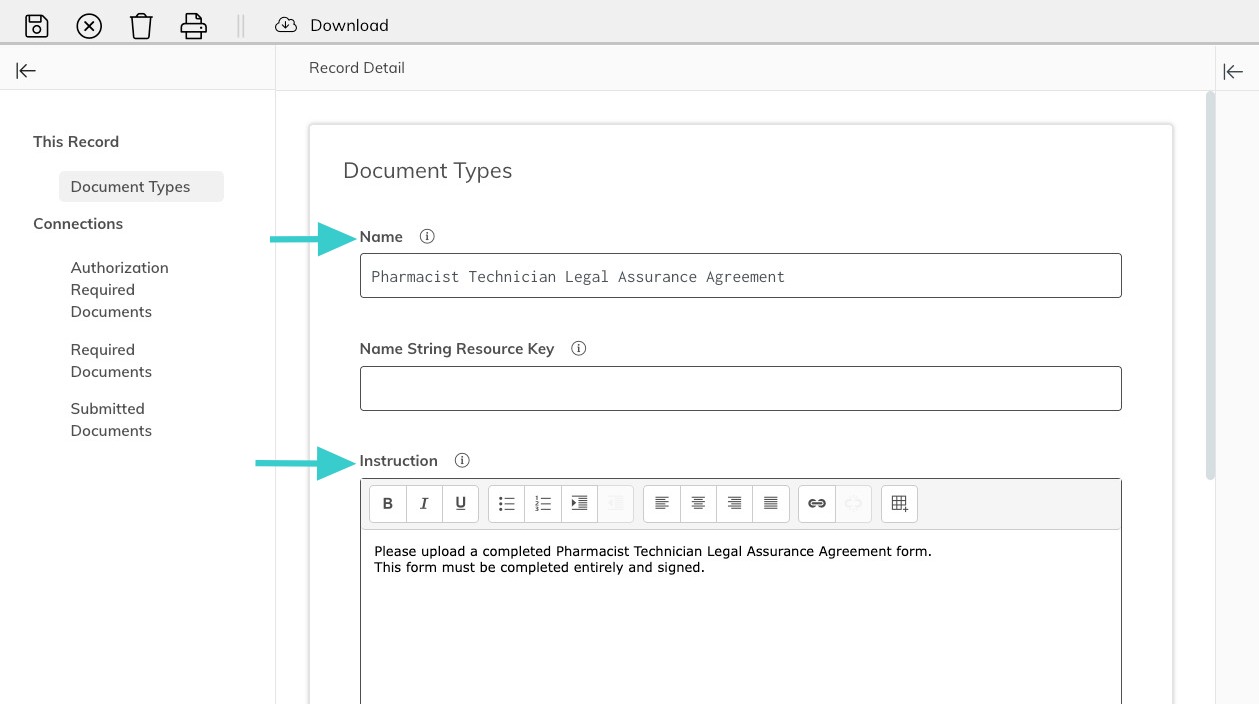
6. Provide a Name to the Document Type.
Note: Be specific enough to differentiate easily, as it will need to be referenced later when configuring the application type.
Enter the Instructions associated with uploading this document type.
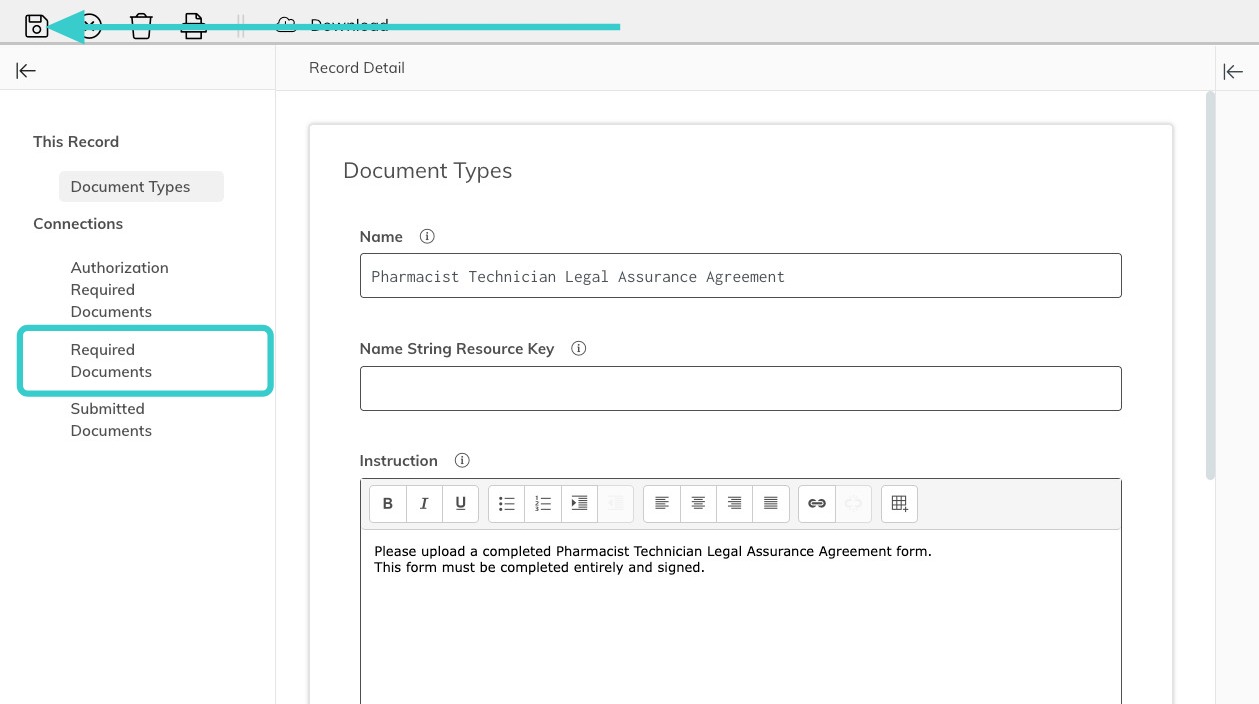
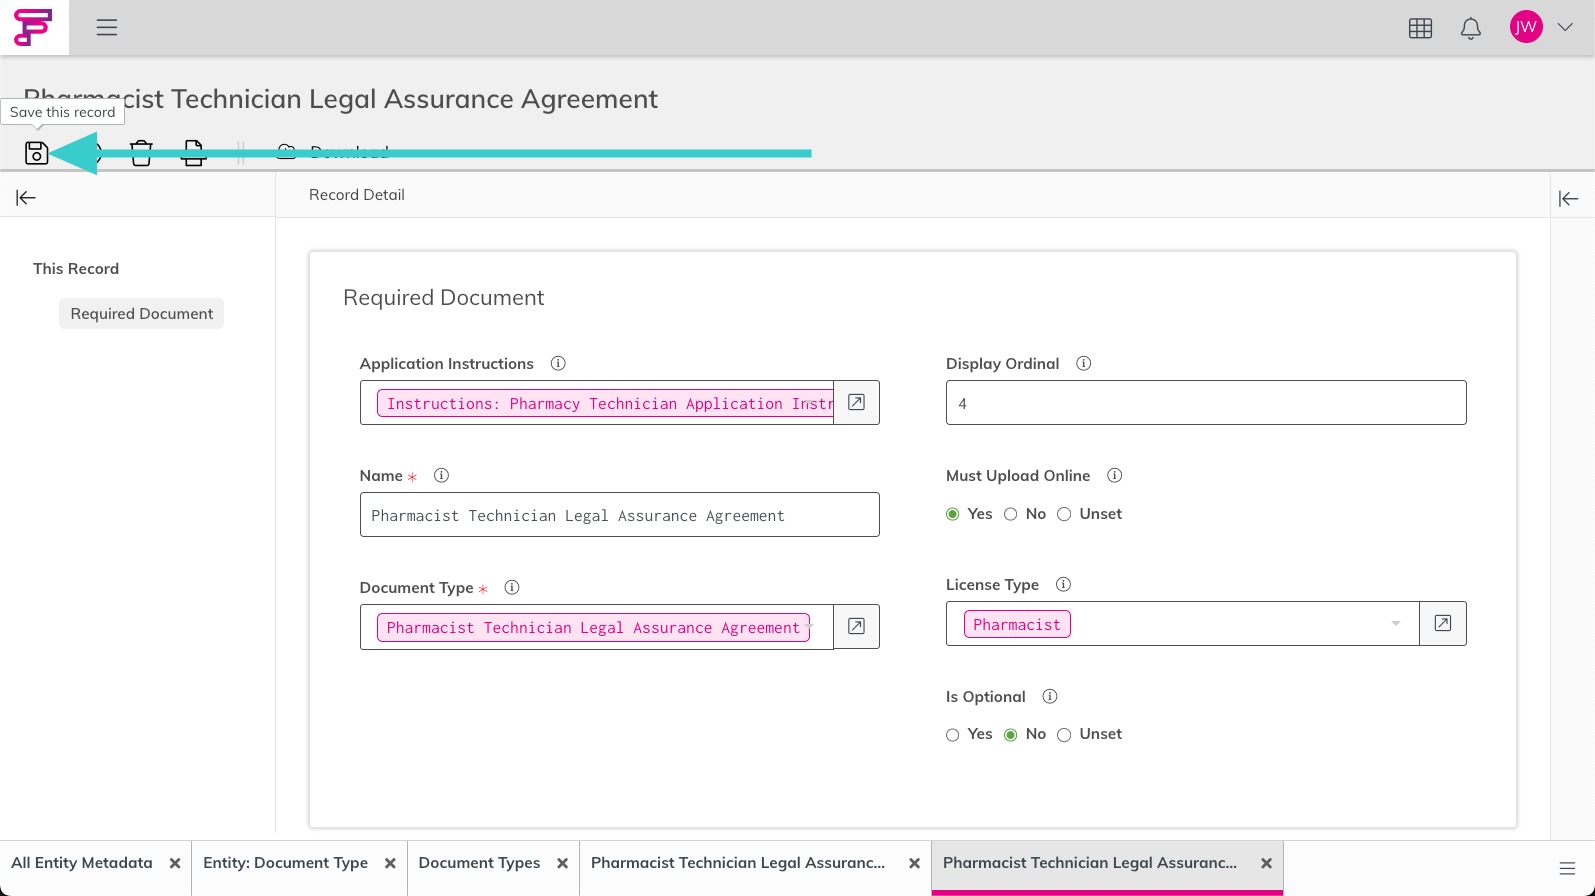
7. Click to Save.
Then,
Access the Required Documents section of the sidebar.
Required Document Setup
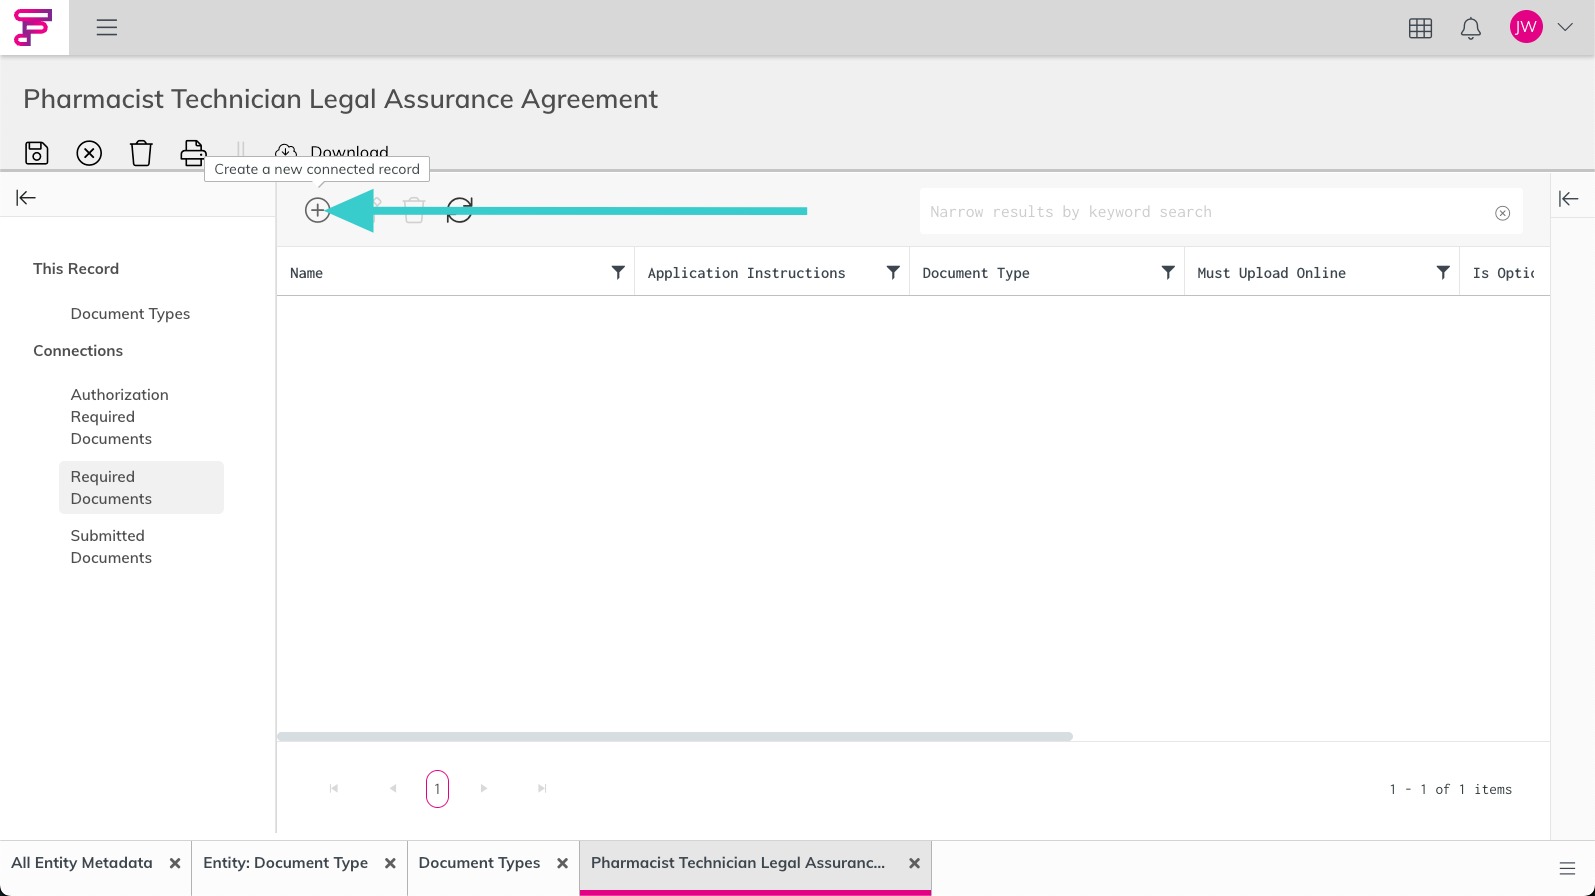
8. Create a new connected record.
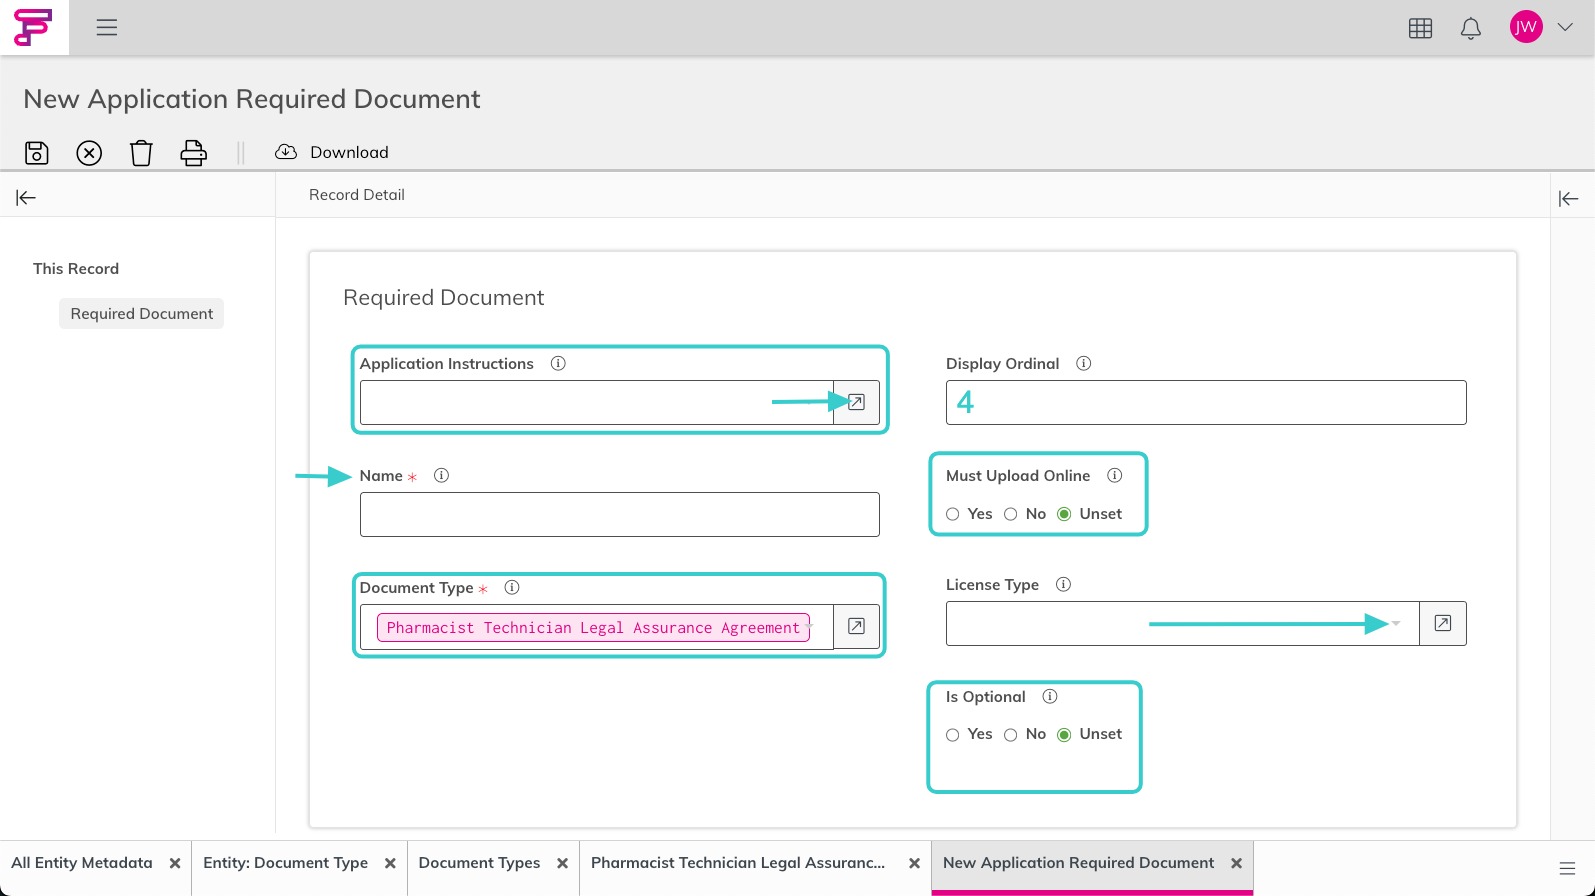
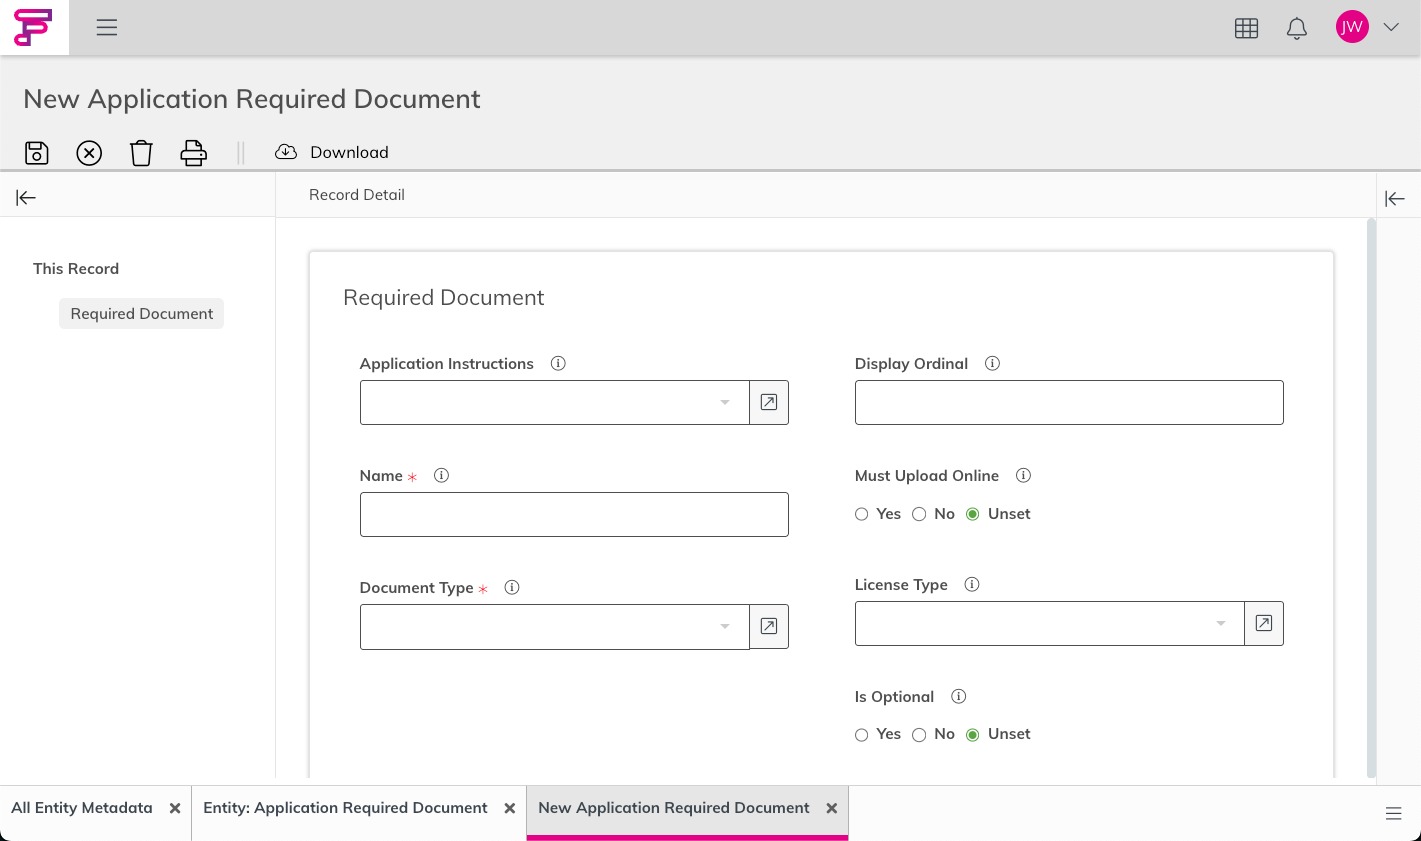
9. For the Required Document, provide:
Application Instructions - Assign the applicable Application Instructions.
Want to learn more about how to Update application instructions?
Name - Relevant and applicable name.
Document Type: Already will be assigned (if steps taken above have been saved)
Display Ordinal - Specify the placement of this document request.
1 - first
2 - second
3 - third, etc.
For this example, '4' will be entered to place it at the bottom of the list of the already existing three other document requests.
Must Upload Online:
Yes - The way to associate this document upload must be through the portal application.
No - If, for example, the document request needs to be associated with the license type, but the document can be mailed to the regulator after or outside of the portal application.
License Type - Align the document request to a license type.
Is Optional - Should an applicant have the option to skip the upload?
10. Save this record.
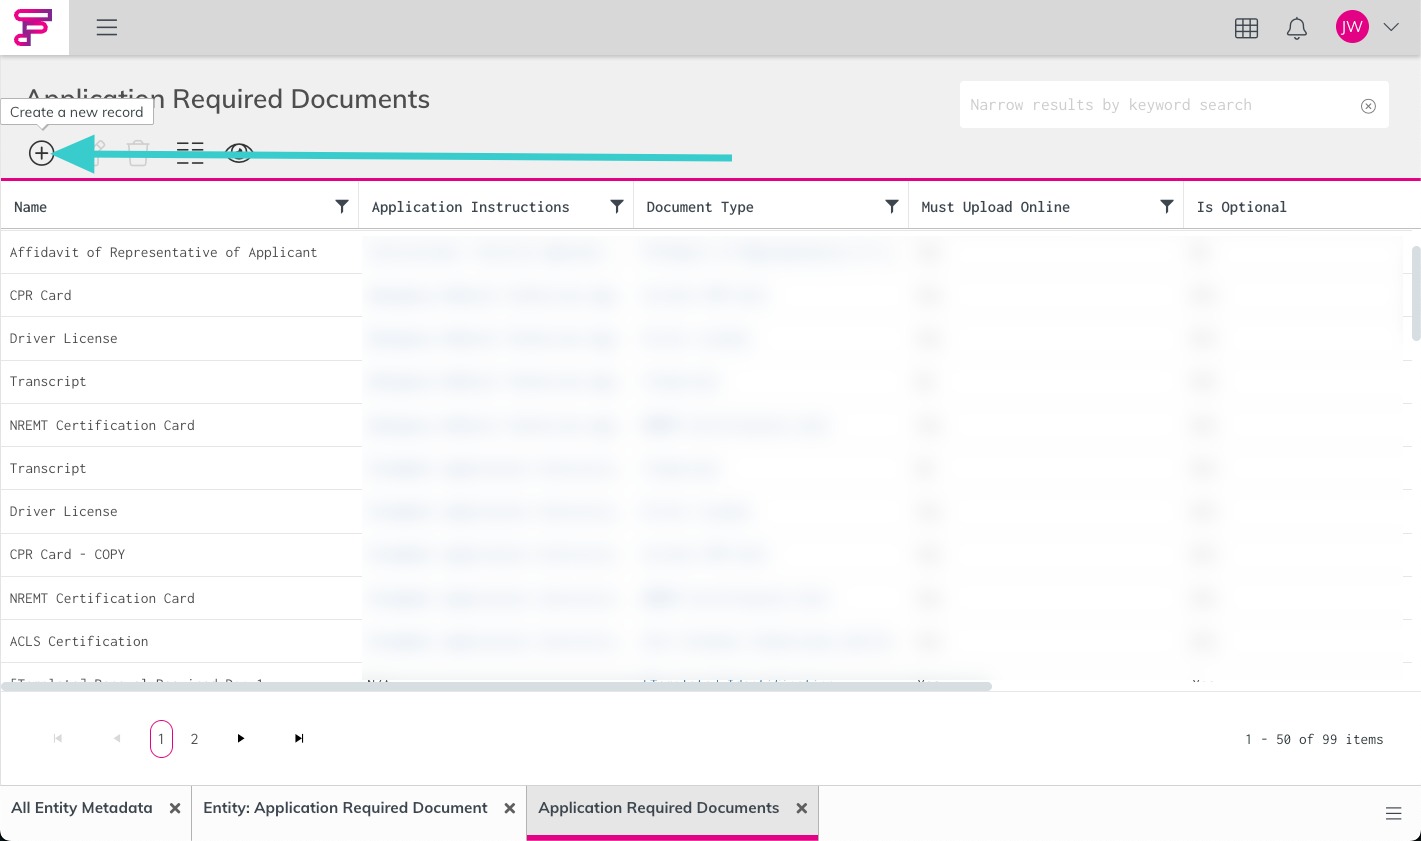
Tip: Required Documents can also be configured in the Application Required Documents entity. (Steps below)
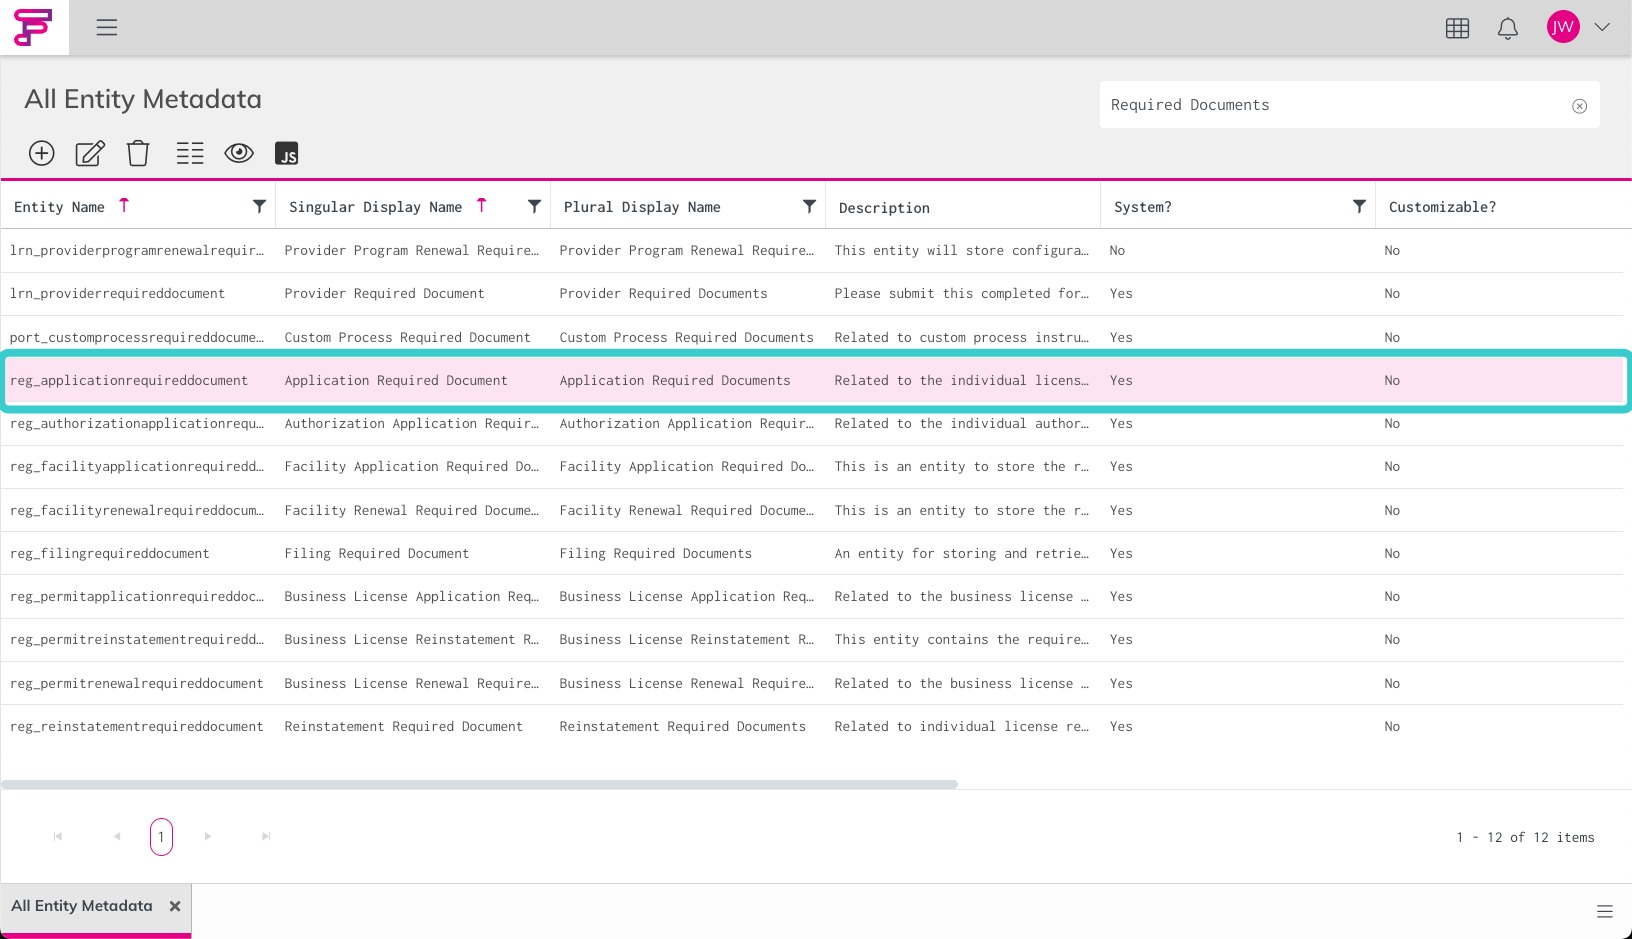
11. Open Records.
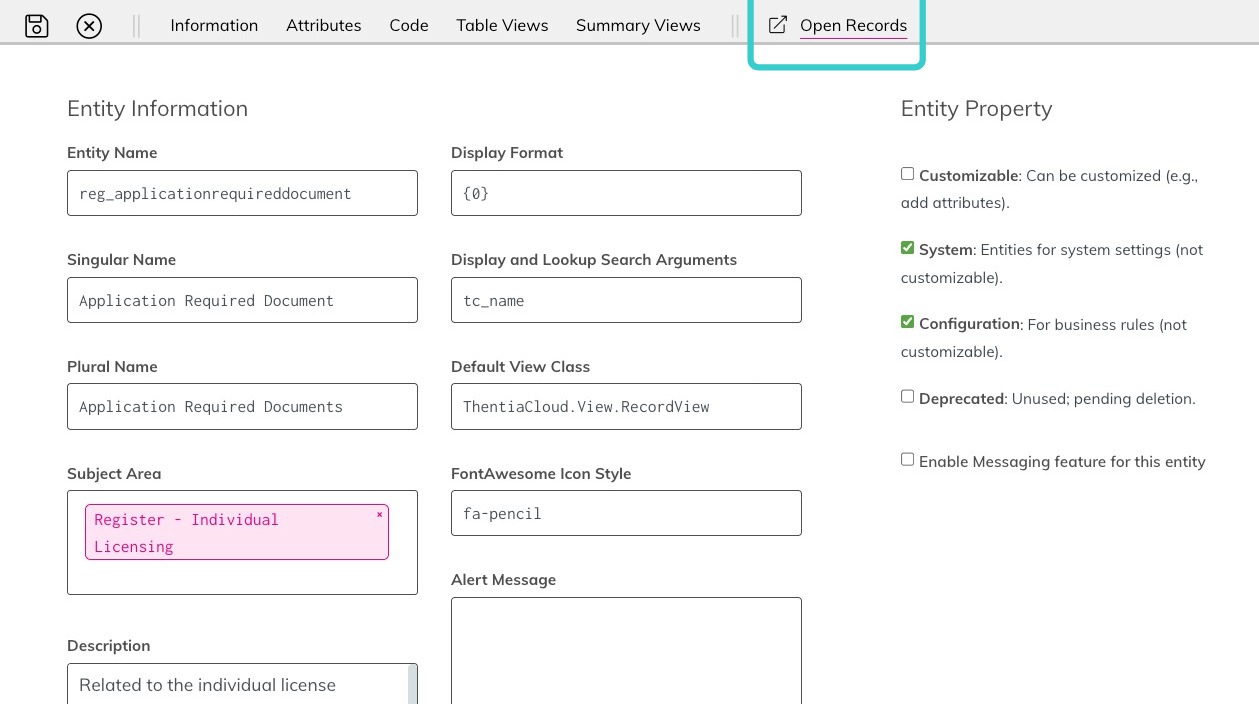
12. Create a new record.
13. You'll see the interface is the same as shown earlier.
Apply Updates
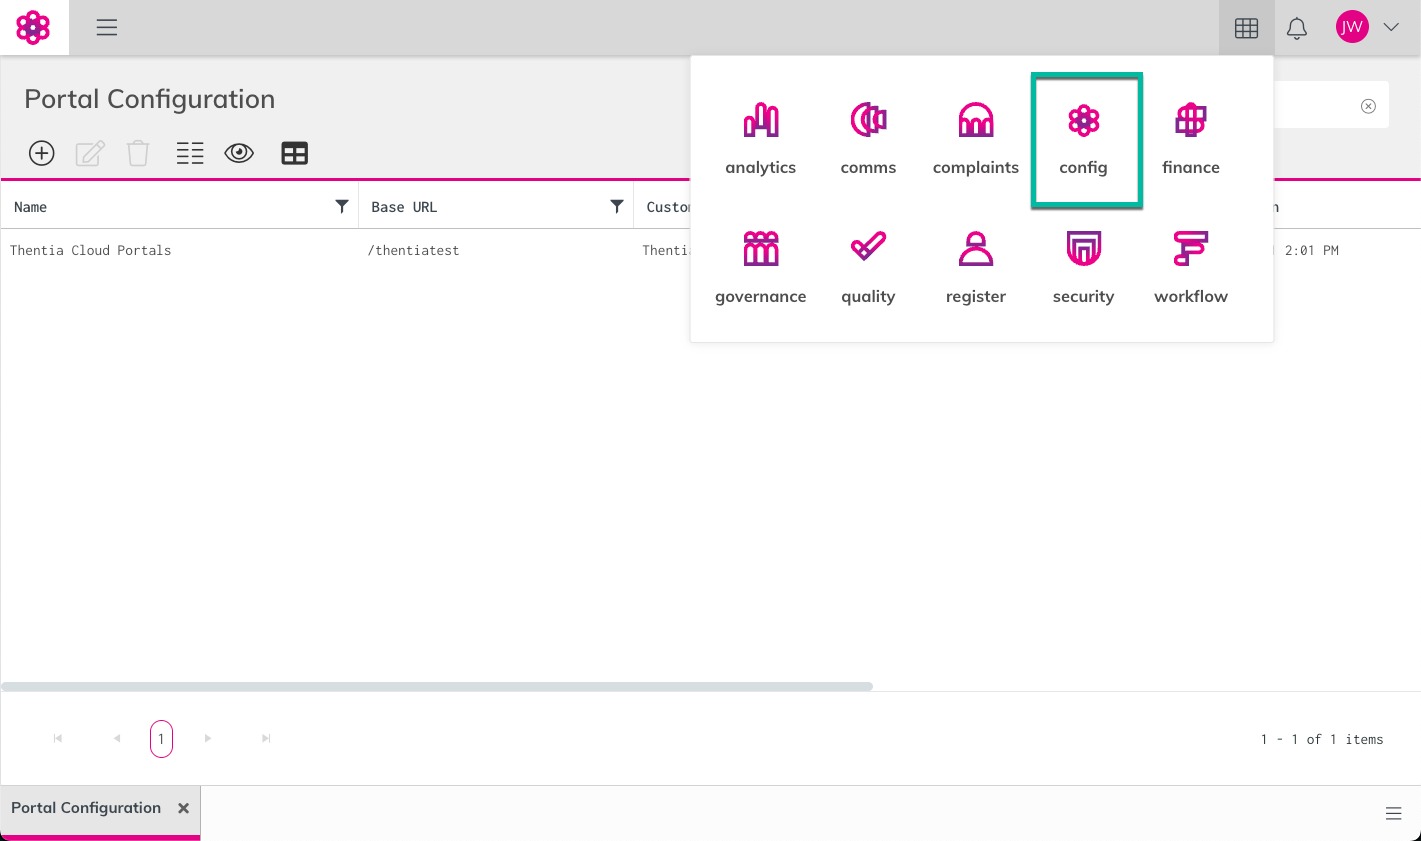
14. Access the Config Module.
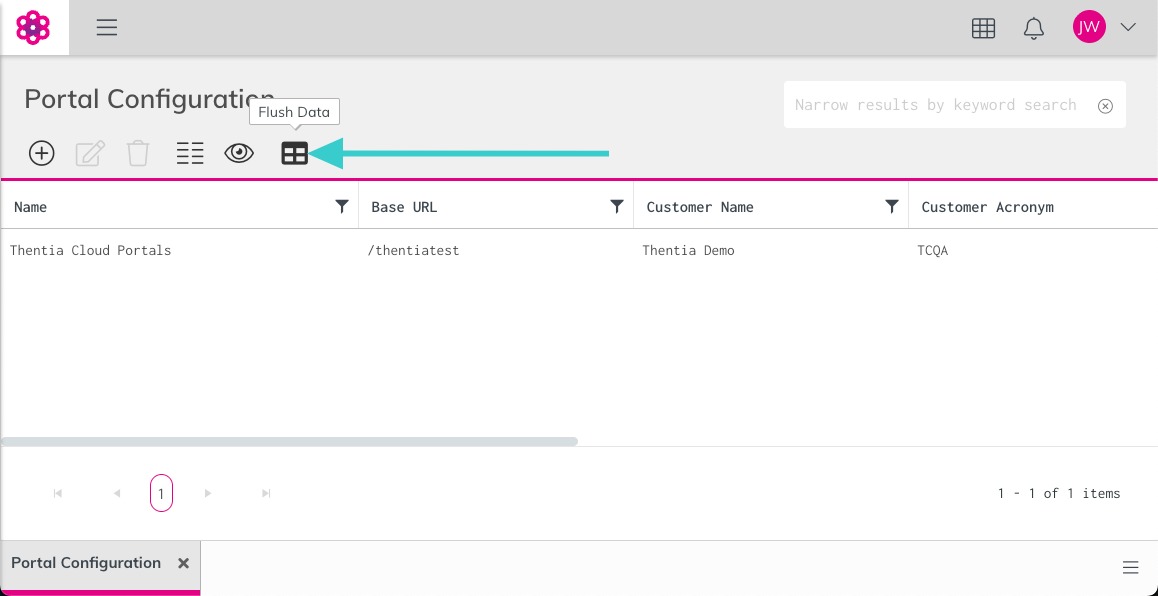
15. Click the Flush Data button to apply updates and make them visible on the portal.
16. Refresh the browser page to view updates.
If you are pleased with the updates, then apply the same steps to your Production Site.
Comments
0 commentsArticle is closed for comments.